How to Create Choice Lists for Accessories, Remarks, and Problems in the Repair Request Form ?
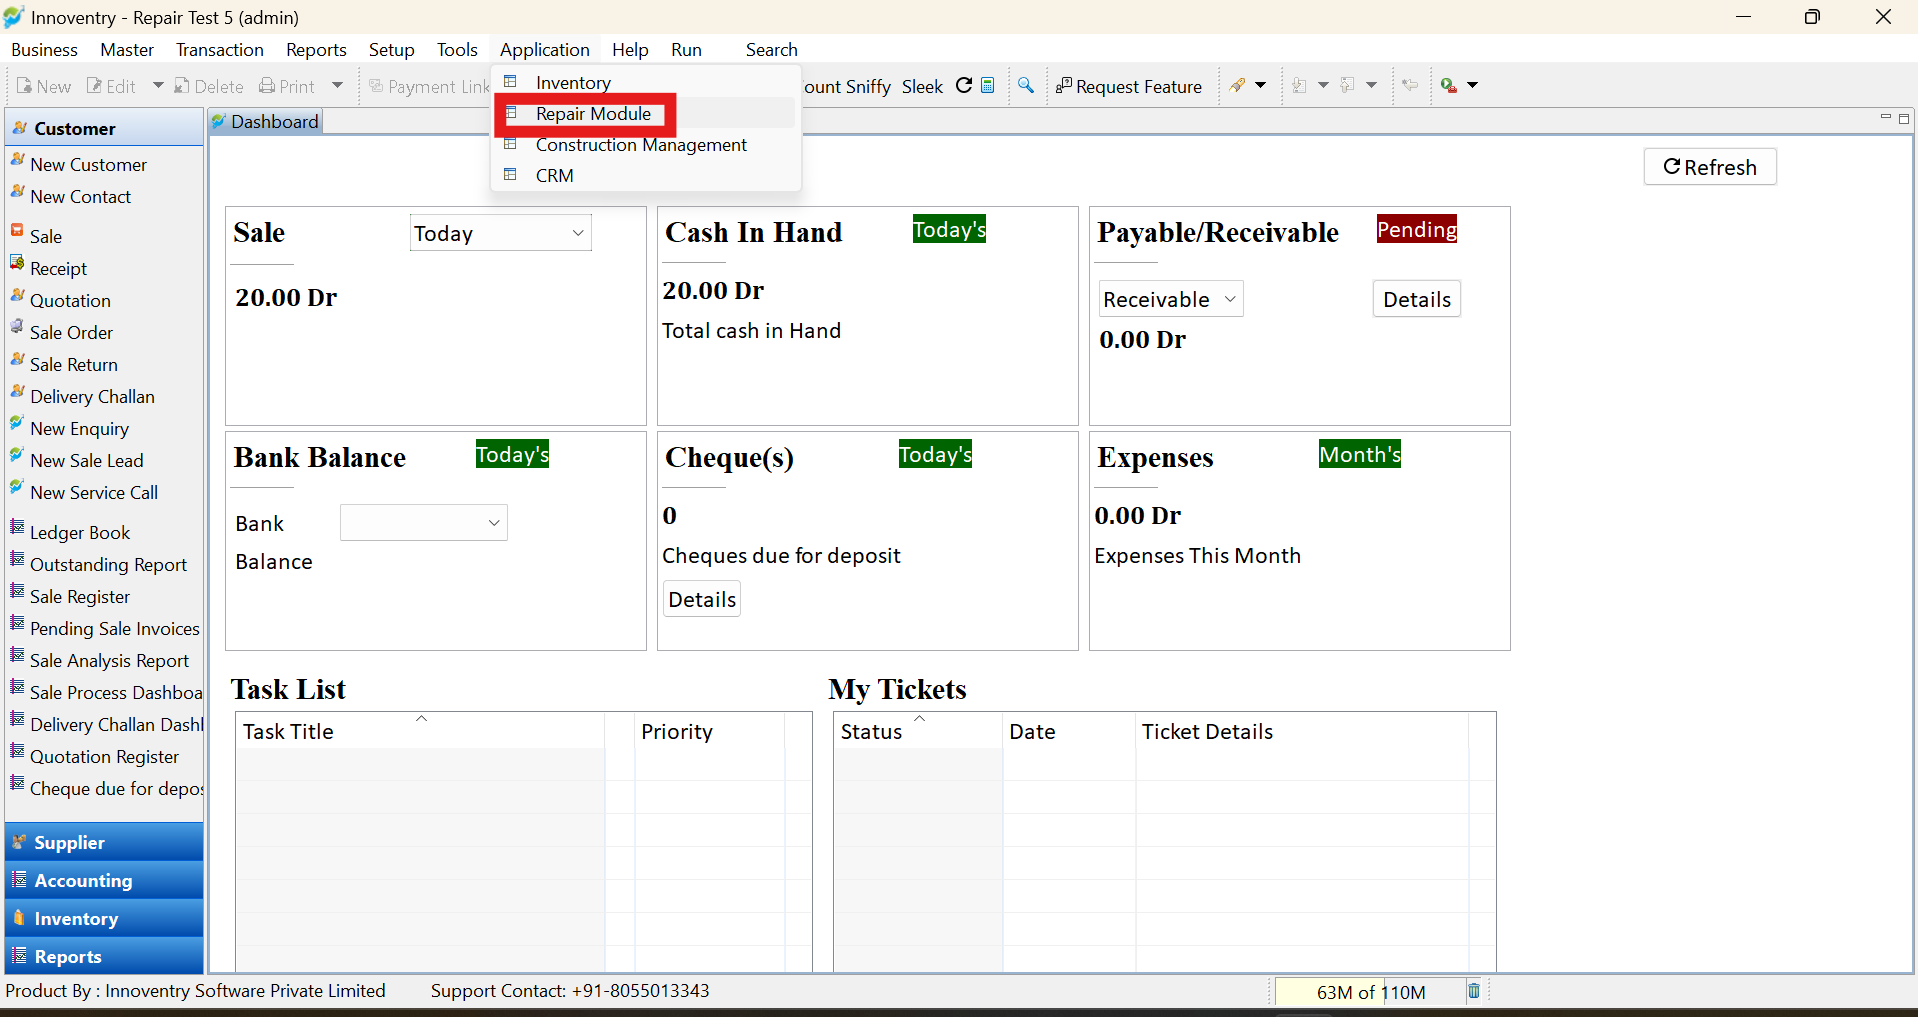
Step 1: Launch the software, navigate to the “Application” menu, and select the “Repair Module.”
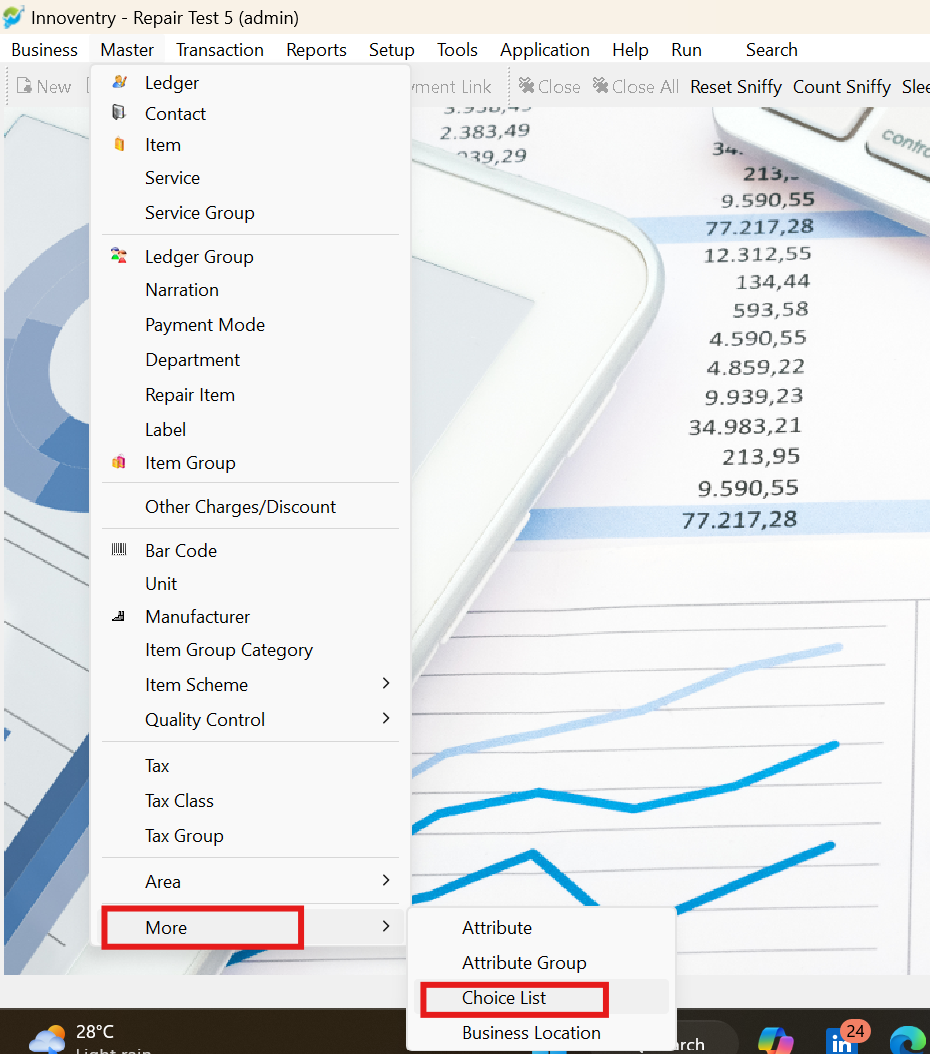
Step 2: Go to “Master,” then “More,” and select “Choice List.”
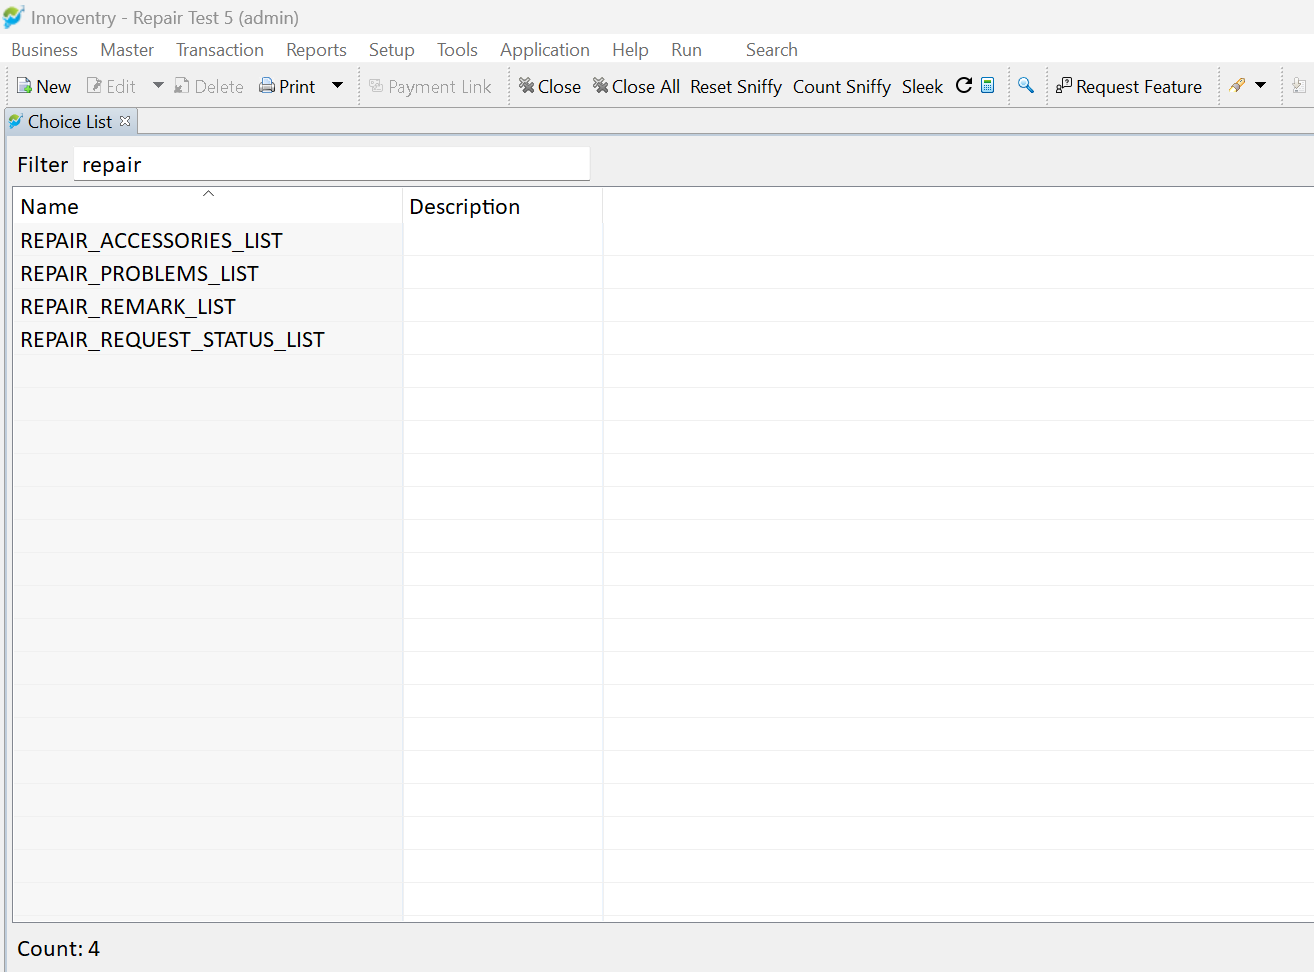
Step 3: In the search box, type “Repair” to locate relevant lists.
Step 4: If “Repair_Accessories_List,” “Repair_Remark_List,” or “Repair_Problems_List” do not appear in the search results, switch the application to “Inventory,” click on “Tools,” and select “Diagnostic Tools.”
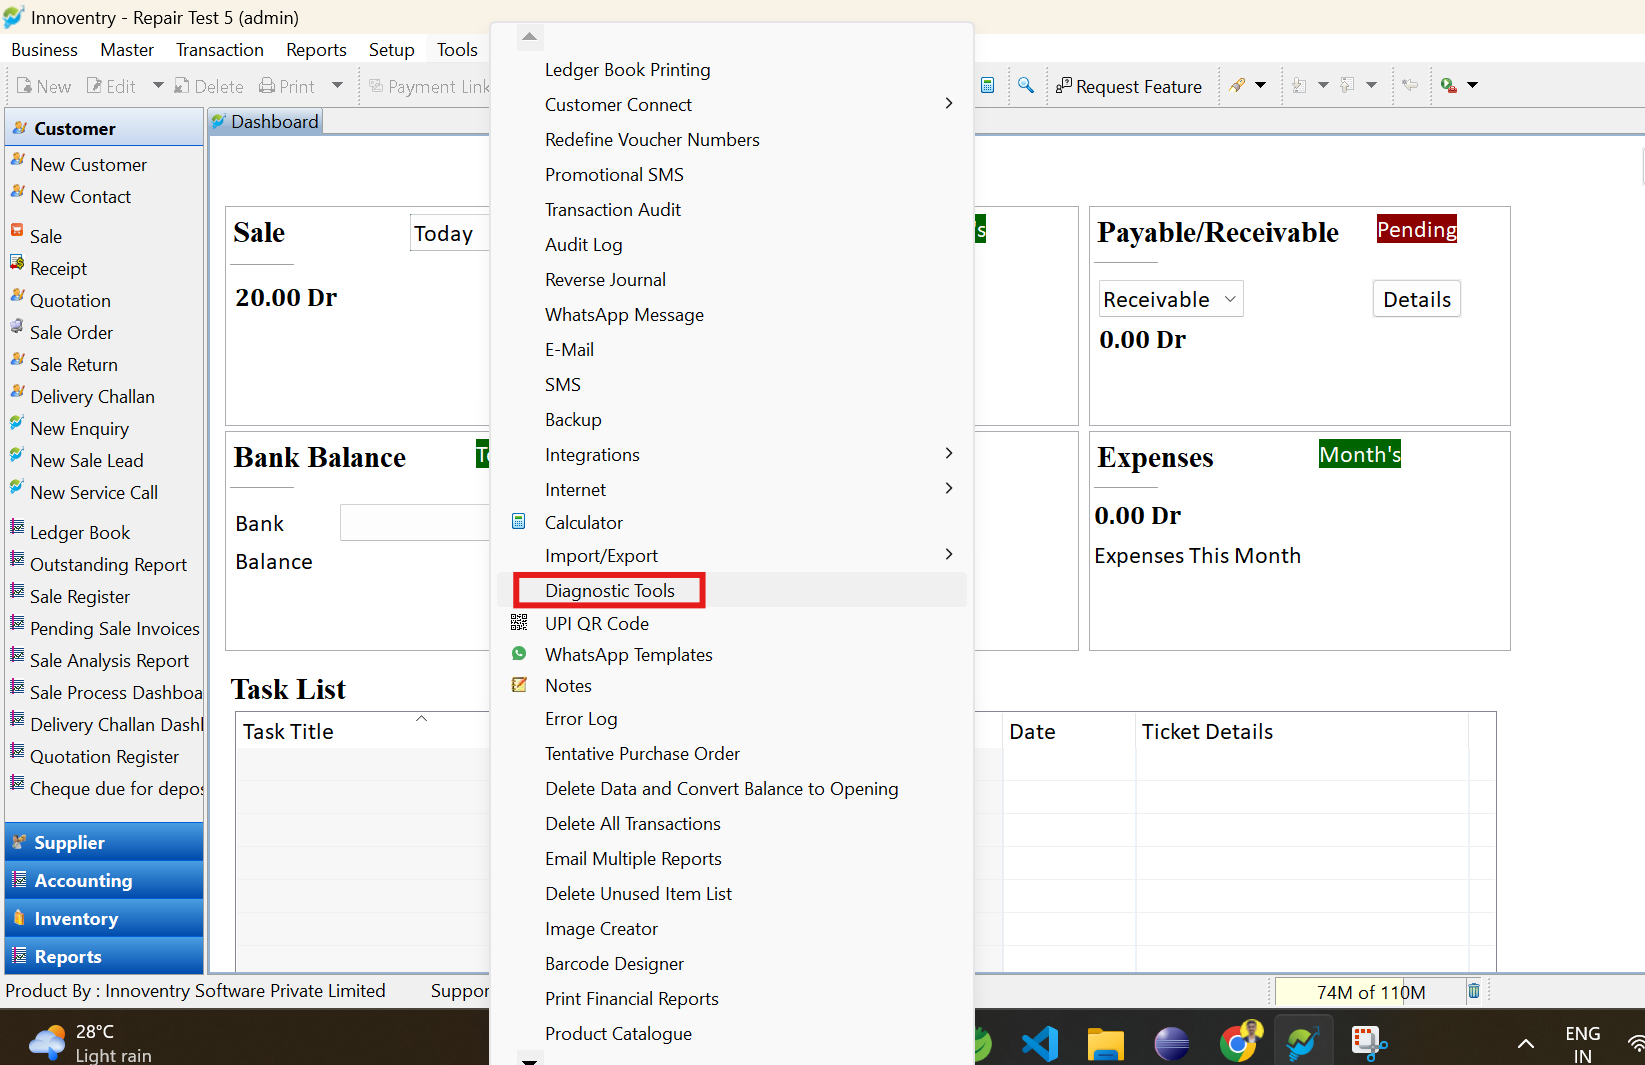
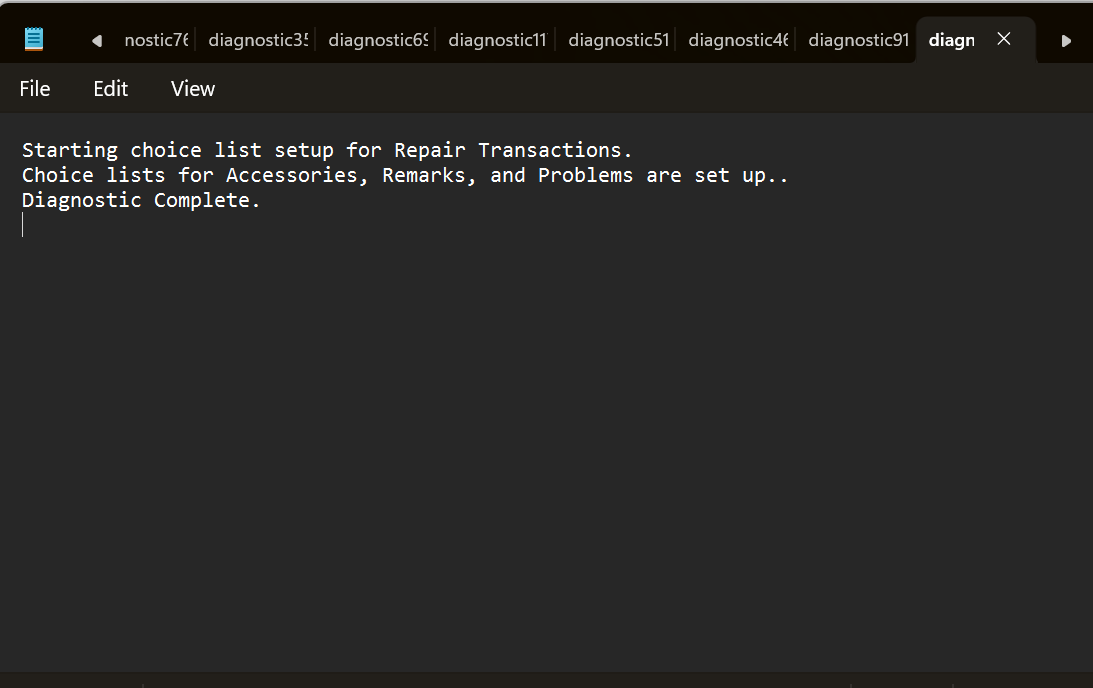
Step 5: After accessing the diagnostic tools, click on “Choice List,” select “Repair Request Choice List” under “Transaction Choice List Setup,” and click “OK.” This will ensure that “Repair_Accessories_List,” “Repair_Remark_List,” and “Repair_Problems_List” appear in Step 3. Note that Steps 3 and 4 are optional —only follow them if the lists are not visible in Step 3. If the lists still do not appear, restart the software.
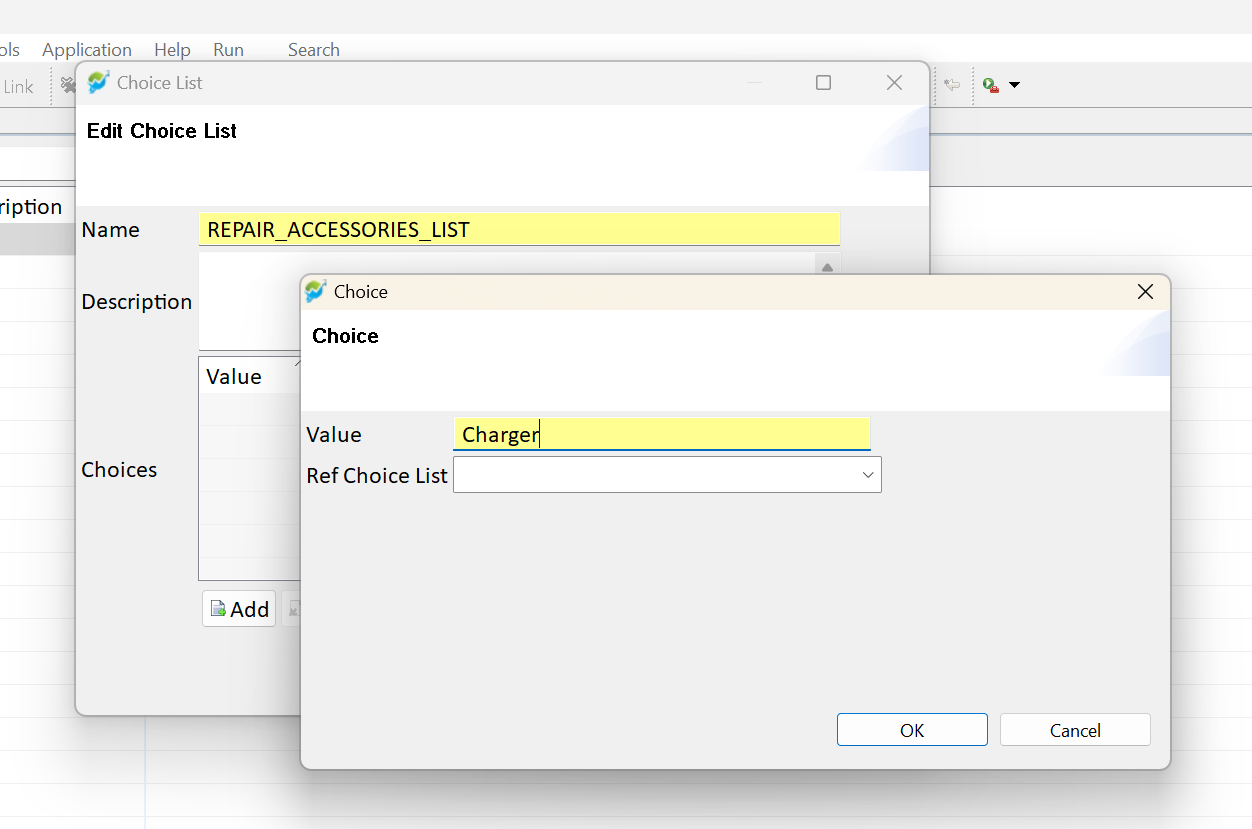
Step 6: Return to Step 3, select “Repair_Request_Accessories” from the choice list, click the “Add” button, and enter an accessory name, such as “Charger.” Remember to add one accessory at a time. Click “OK” after each entry. To add another accessory, repeat this step and then click the “Save” button.
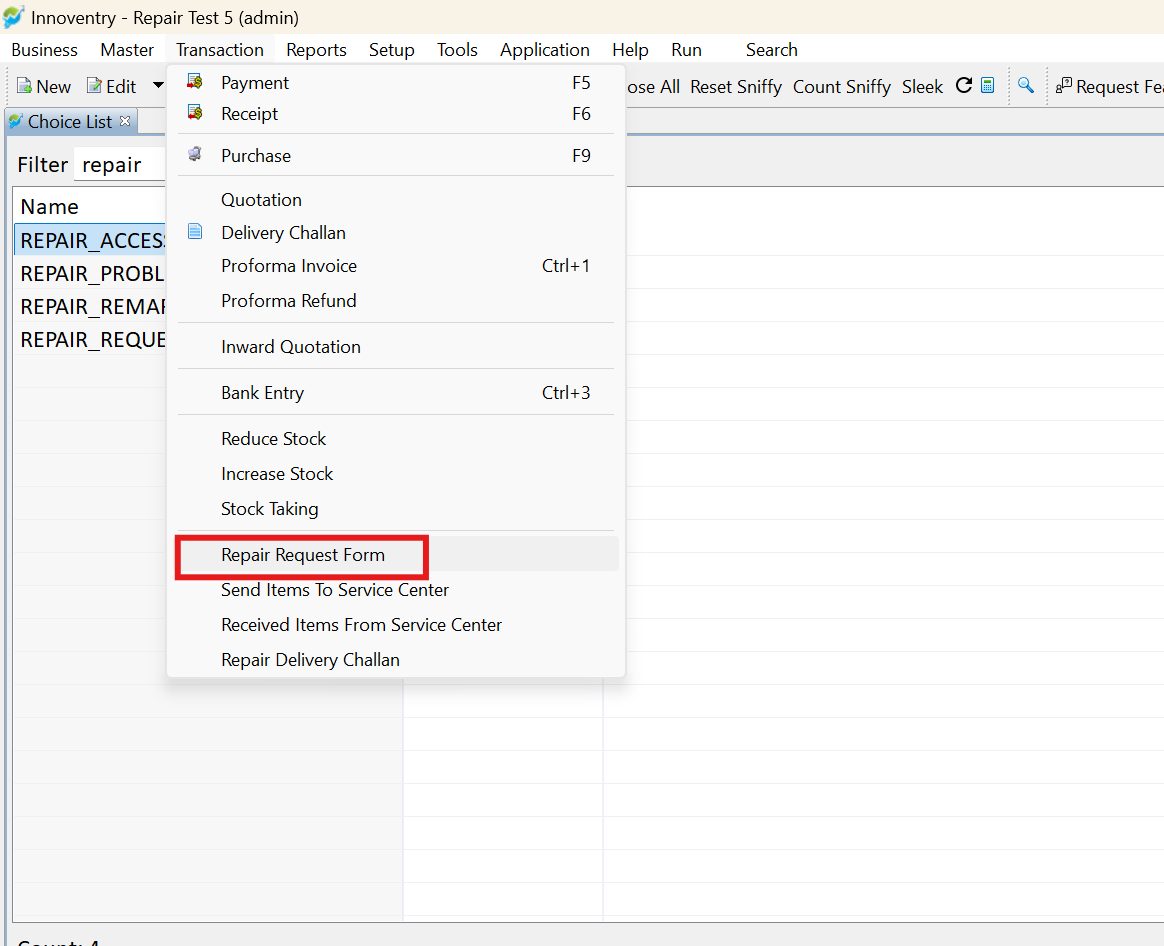
Step 7: Go to “Transactions” and select the “Repair Request” form.
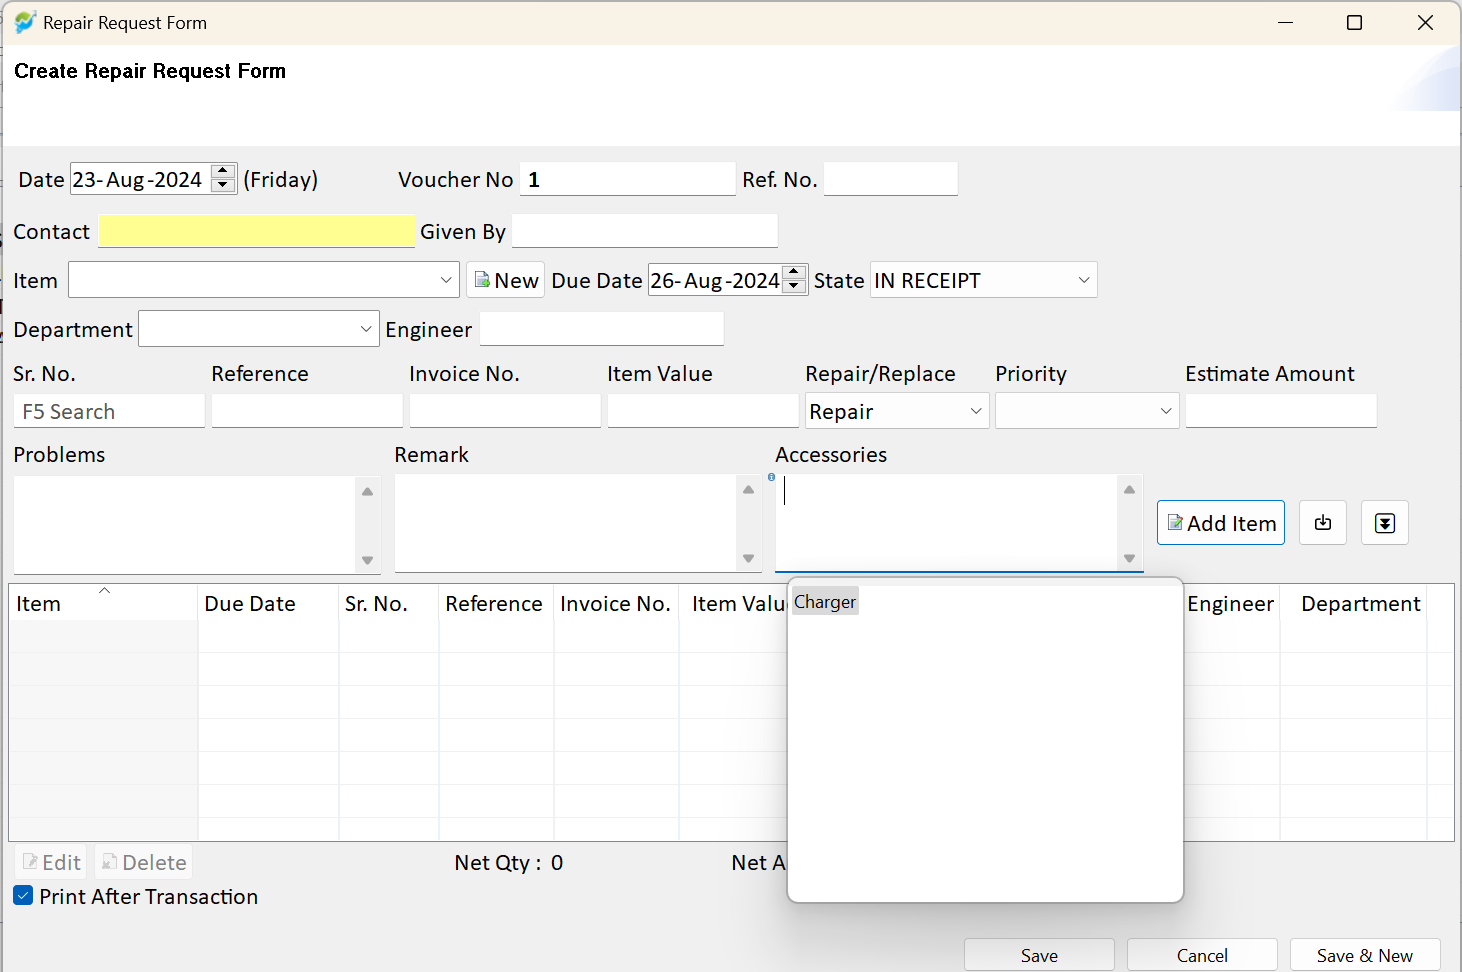
Step 8: In the accessories field, press “Ctrl + Space” to view the list. Follow the same steps for adding remarks and problems. The list will now be available, eliminating the need to manually type entries each time.